
La petite maison dans la prairie
Hello friends!
And welcome back to a new behind-the-scenes article 🌼
Today, I’ll be sharing the process that went into illustrating covers for The Little House on the Prairie series.


Let me take you back to April 2024 - get yourself a nice cup of tea/coffee and let’s travel back in time ☕

Just to put us in the mood, a few photos from April last year 😙
I was first contacted about this beautiful project in late March last year.
It took a few days to discuss everything, including the contract terms, and we started the actual work in April!
The brief
To begin the project, the art director sent me a brief for the two books - it was agreed that the collection would start slowly, and Flammarion would only publish the first two books at the beginning (spoiler alert : the two next ones are also already out, so I guess the first ones found their audience 🤗✨).
You may wonder what does appear in a brief for a book cover? It was my first time working on this kind of project, so it was new for me as well!
For this project, the brief included a short summary of each of the books, as well as keywords for elements that should appear on the cover. For example, a list of flowers that we can find in the story, objects dear to the characters, places, animals… because the project has to go rather quickly, I would not have had enough time to read the entire books. These keywords helped me envision the atmosphere of the story and be able to represent it through key elements!
Here are a few examples for keywords I received for the first book:
Woods, Wolf, Trees, Deer, Snow, Bear, Buttercup, Violet, Sheat of oats, Horses, Campfire, Meadow, Violin, Axe, Butterflies, Cabin, Rabbit, Porcelain doll, Dog.The sketches


As you have probably guessed already, the next step for me was to start sketching from these keywords. I tried sketching most of the words I received, but already made a tiny selection because some of them felt less inspiring, or more difficult to include in a decorative composition. At this point in the process, I’m mostly looking for references, researching specific elements (how to draw this or that kind of flower/animal, mainly), and sketching it a few different times to get a variety of poses/angles, so that I can have a range of options to choose from once I start working on the composition!
And even though the final illustrations for this project have been painted digitally, this first step of the process is almost always done with a sketchbook and pencil. I find it much easier to sketch freely with a pencil rather than on the iPad!
3. The composition
Along with the brief and keywords, the art director had sent me a template for the covers as well. This gives important information, such as the exact size of the cover, the placement of elements (such as the title, author name, collection…). It was my base to start building a composition following these specifications. Here is the template I received:

The grey area on the template represents a space that must be filled with the background colour/texture/pattern, but no important element: since the printer needs it to print and build the actual book! So the space I had to work on was all of the white part of this template, surrounding the different written elements.
I have never been great at sketching with linework - having a blocked shape helps me envision the composition much better. So I usually start by taking photos of my sketches, importing them into Procreate and turn them to block shapes before I move them around, trying to figure out a composition that will work! You can see I tried starting with a lined sketch here before I quickly turned to my good old method of blocked shapes:


As you can see on these sketches, I decided to take the liberty to handwrite the title instead of keeping the font that was included in the template. But… the thing is that hand lettering is very far from being my specialty! I have basically no experience in it- so it did take a bit of trial and error before I found something that worked, and didn’t look too wonky (just wonky enough to give it a bit of charm)!

My initial idea was to create kind of a circle around the title, using flowers and little elements. I envisioned a beautiful frame with a vintage feel. I wanted the design to feel precious and old. We had planned on adorning the cover with golden foil, so I had this clear vision in my mind of something very decorative, almost as a print that you would like to frame for your wall.
I later turned the round frame into a rectangle, because it felt easier to balance the composition around it, and have a more steady look for the title (I didn’t like having to give the letters different sizes to make it fit into a circle). I included actual frames on the design, because it reminded me of old books. I thought it could look very delicate and beautiful once printed in gold. It also seemed to anchor the elements into something bigger, lessening the impression that they were floating around in a void.
This is what I sent as a first proposition:

4. The feedback
It is quite rare in a project that the first proposition receives no note at all. I try to see the first drafts as a base to build from. The final result might look very different from these first versions, but these are here to give us a direction. It helps the client clarifying what they like or don’t, and helps me narrowing down the direction I should take next. In this case though, these propositions do not look so different from the final versions. Mainly, I had to remove the frames as well as the ground at the bottom of the designs. The name of the author was moved on the top of the cover for more clarity (and to give it more space as well). But overall, everything we find in the finalised covers are already in these sketches!
5. The colours
Once the composition is more or less done and approved, it is time for a very exciting part… colour tests!

This was a test I did before receiving feedback on the composition. I don’t usually advise working further on a project before receiving feedback, in order to avoid wasting your time and energy (in case the direction changes drastically). However, in this instance, I was pretty sure most of the elements would be used even if the composition had to change (since I was working with keywords, there was a big chance that the elements would remain the same). So while I was waiting for feedback on the composition, I started playing around with colour - and this is the first test i made.
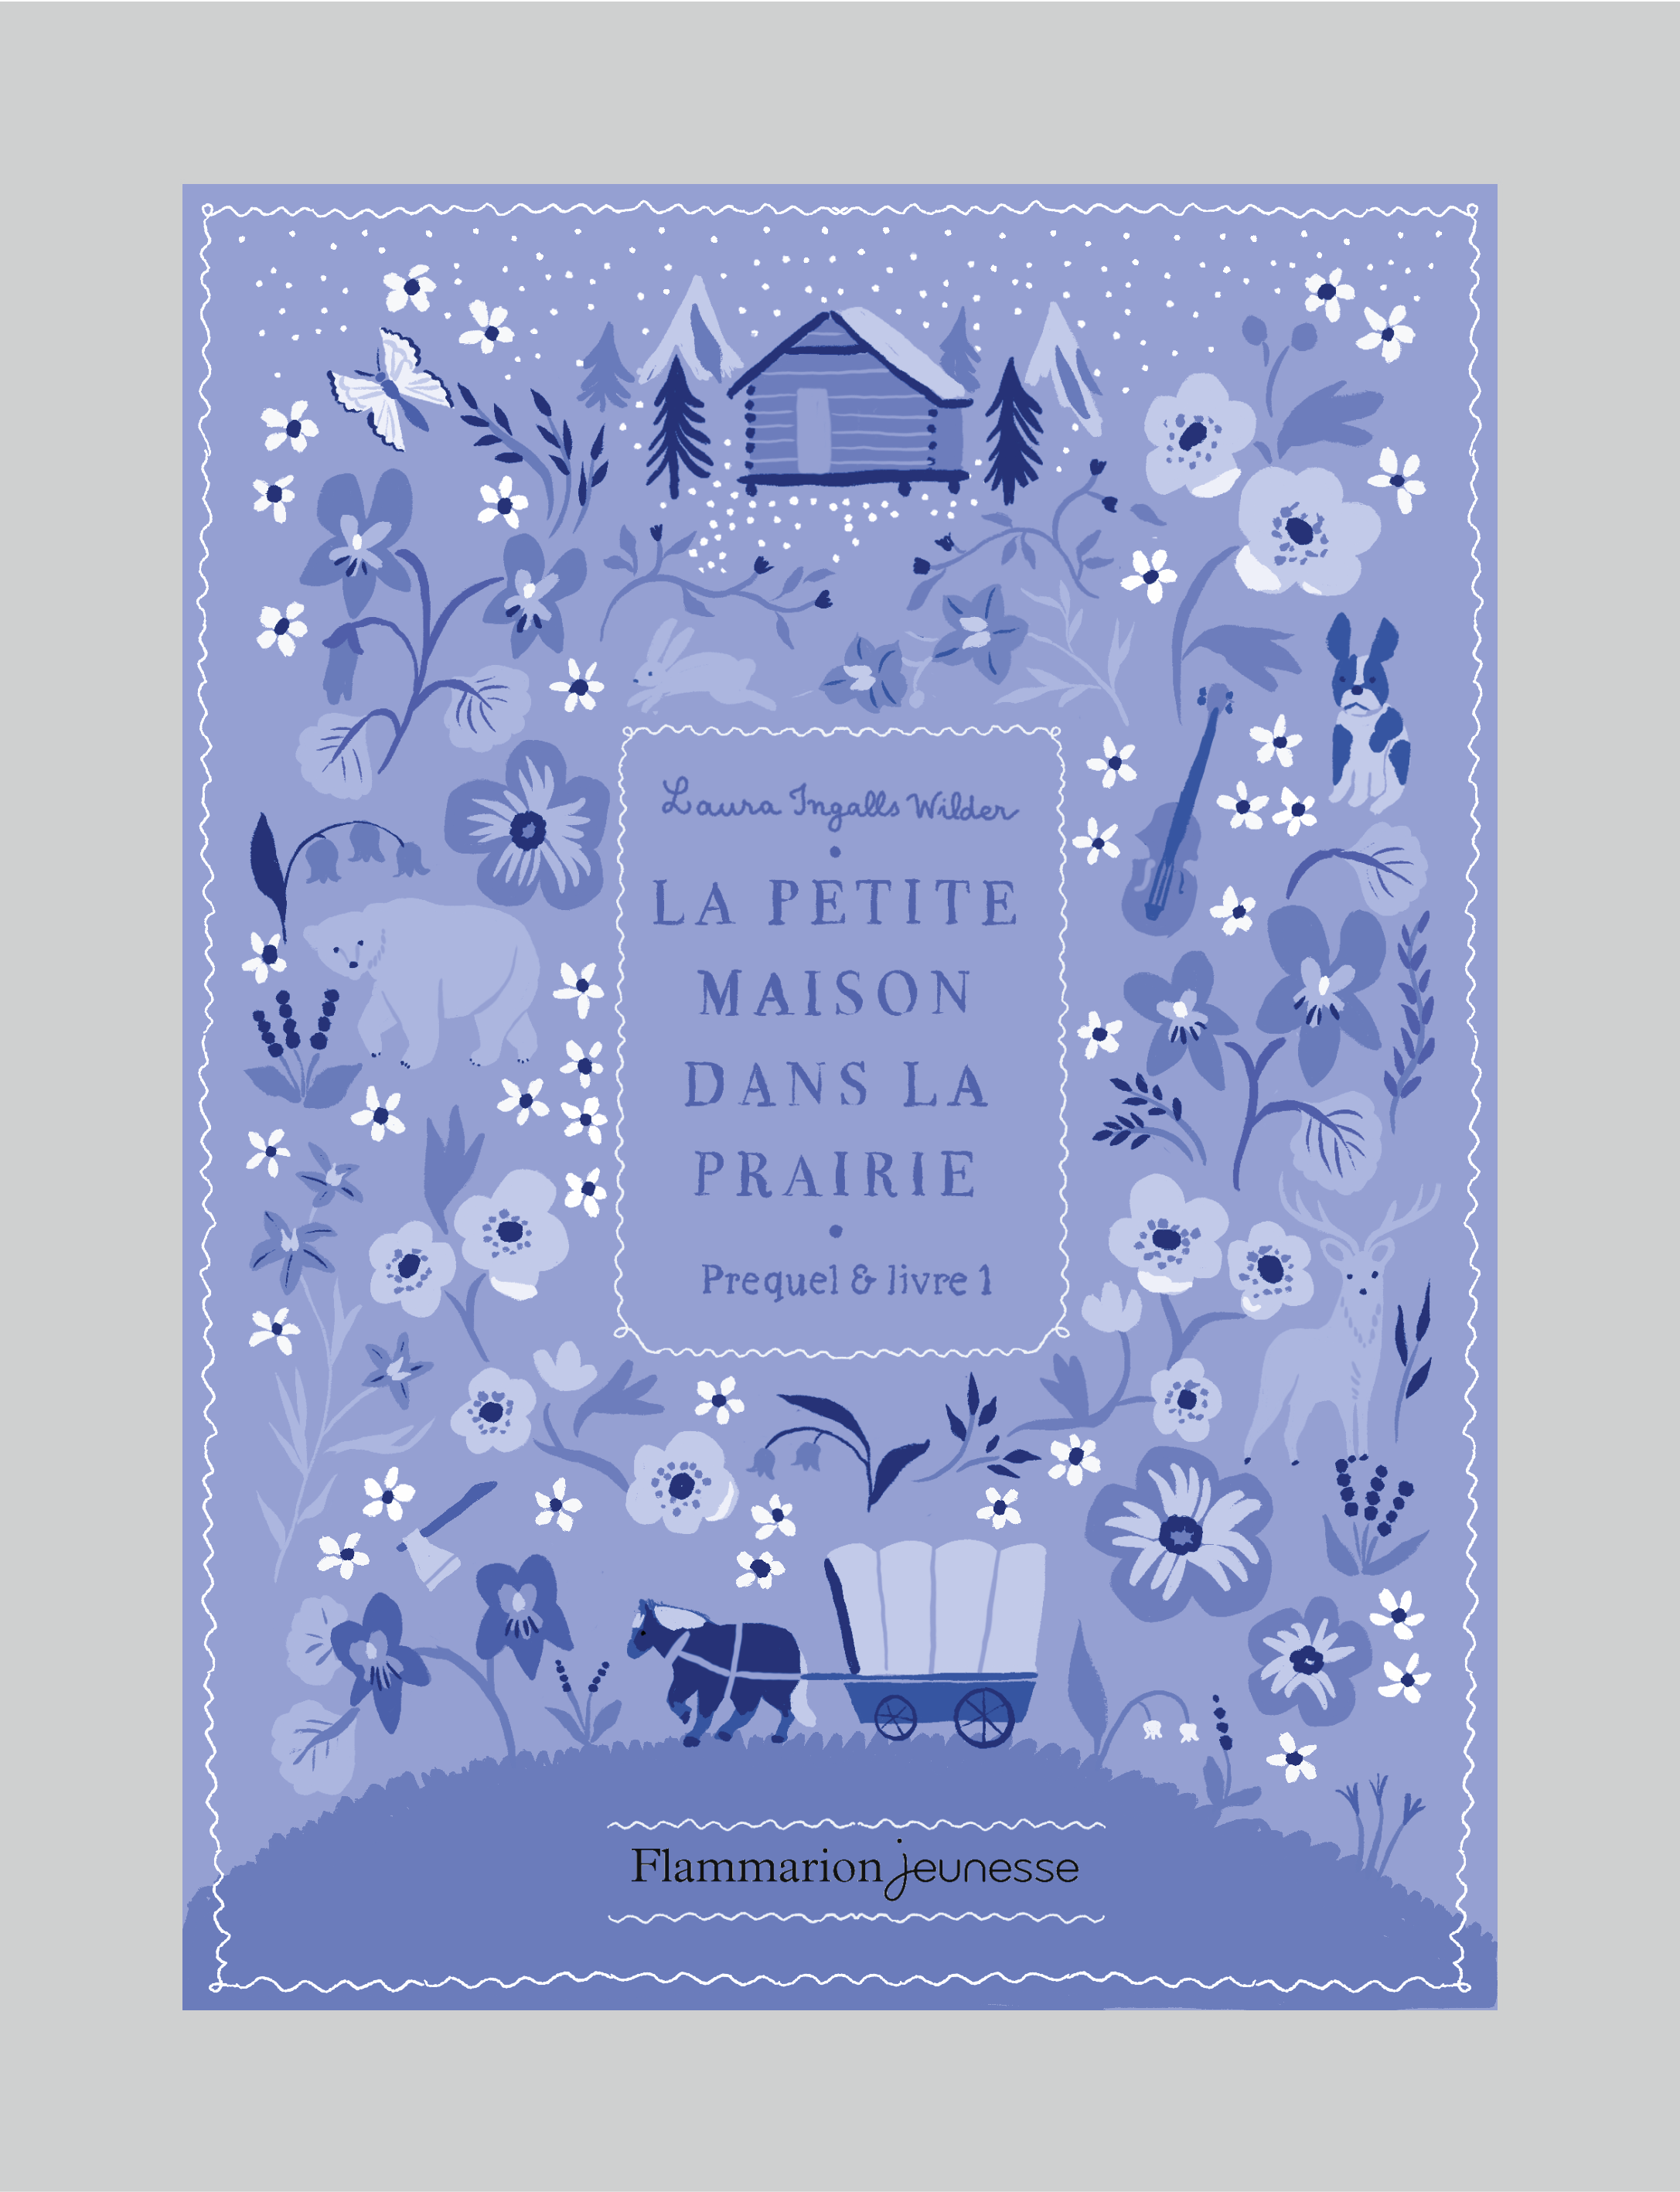
Does it hurt your eyes? It hurts mine too, and it did not take me long to realise these very bright colours were not really working for this specific project. The art director had told me she would like the covers to have distinctive colours for the backgrounds, so I thought the first step would be to figure them out. This came quite easily, since I went with a colour combination I adore: a bluish green (or a greenish blue, as you please), and a pink shade. This is my favourite colour combo ever!
So once I had received feedback on the composition, I drew a coloured sketch for each design, implementing the notes I had received at the same time:


Later, the background colour for book two was changed to a slightly more orange-y shade. Book one stayed the same though! Once these colours palettes were approved, it was time to work on the final versions, drawing everything more neatly and including nice textures as well 🌸
6. The final covers
Although it is no surprise, since I’ve inclued the final covers at the beginning of the article, let me include them here again in case you’d like to see them after going through their different versions 🤗
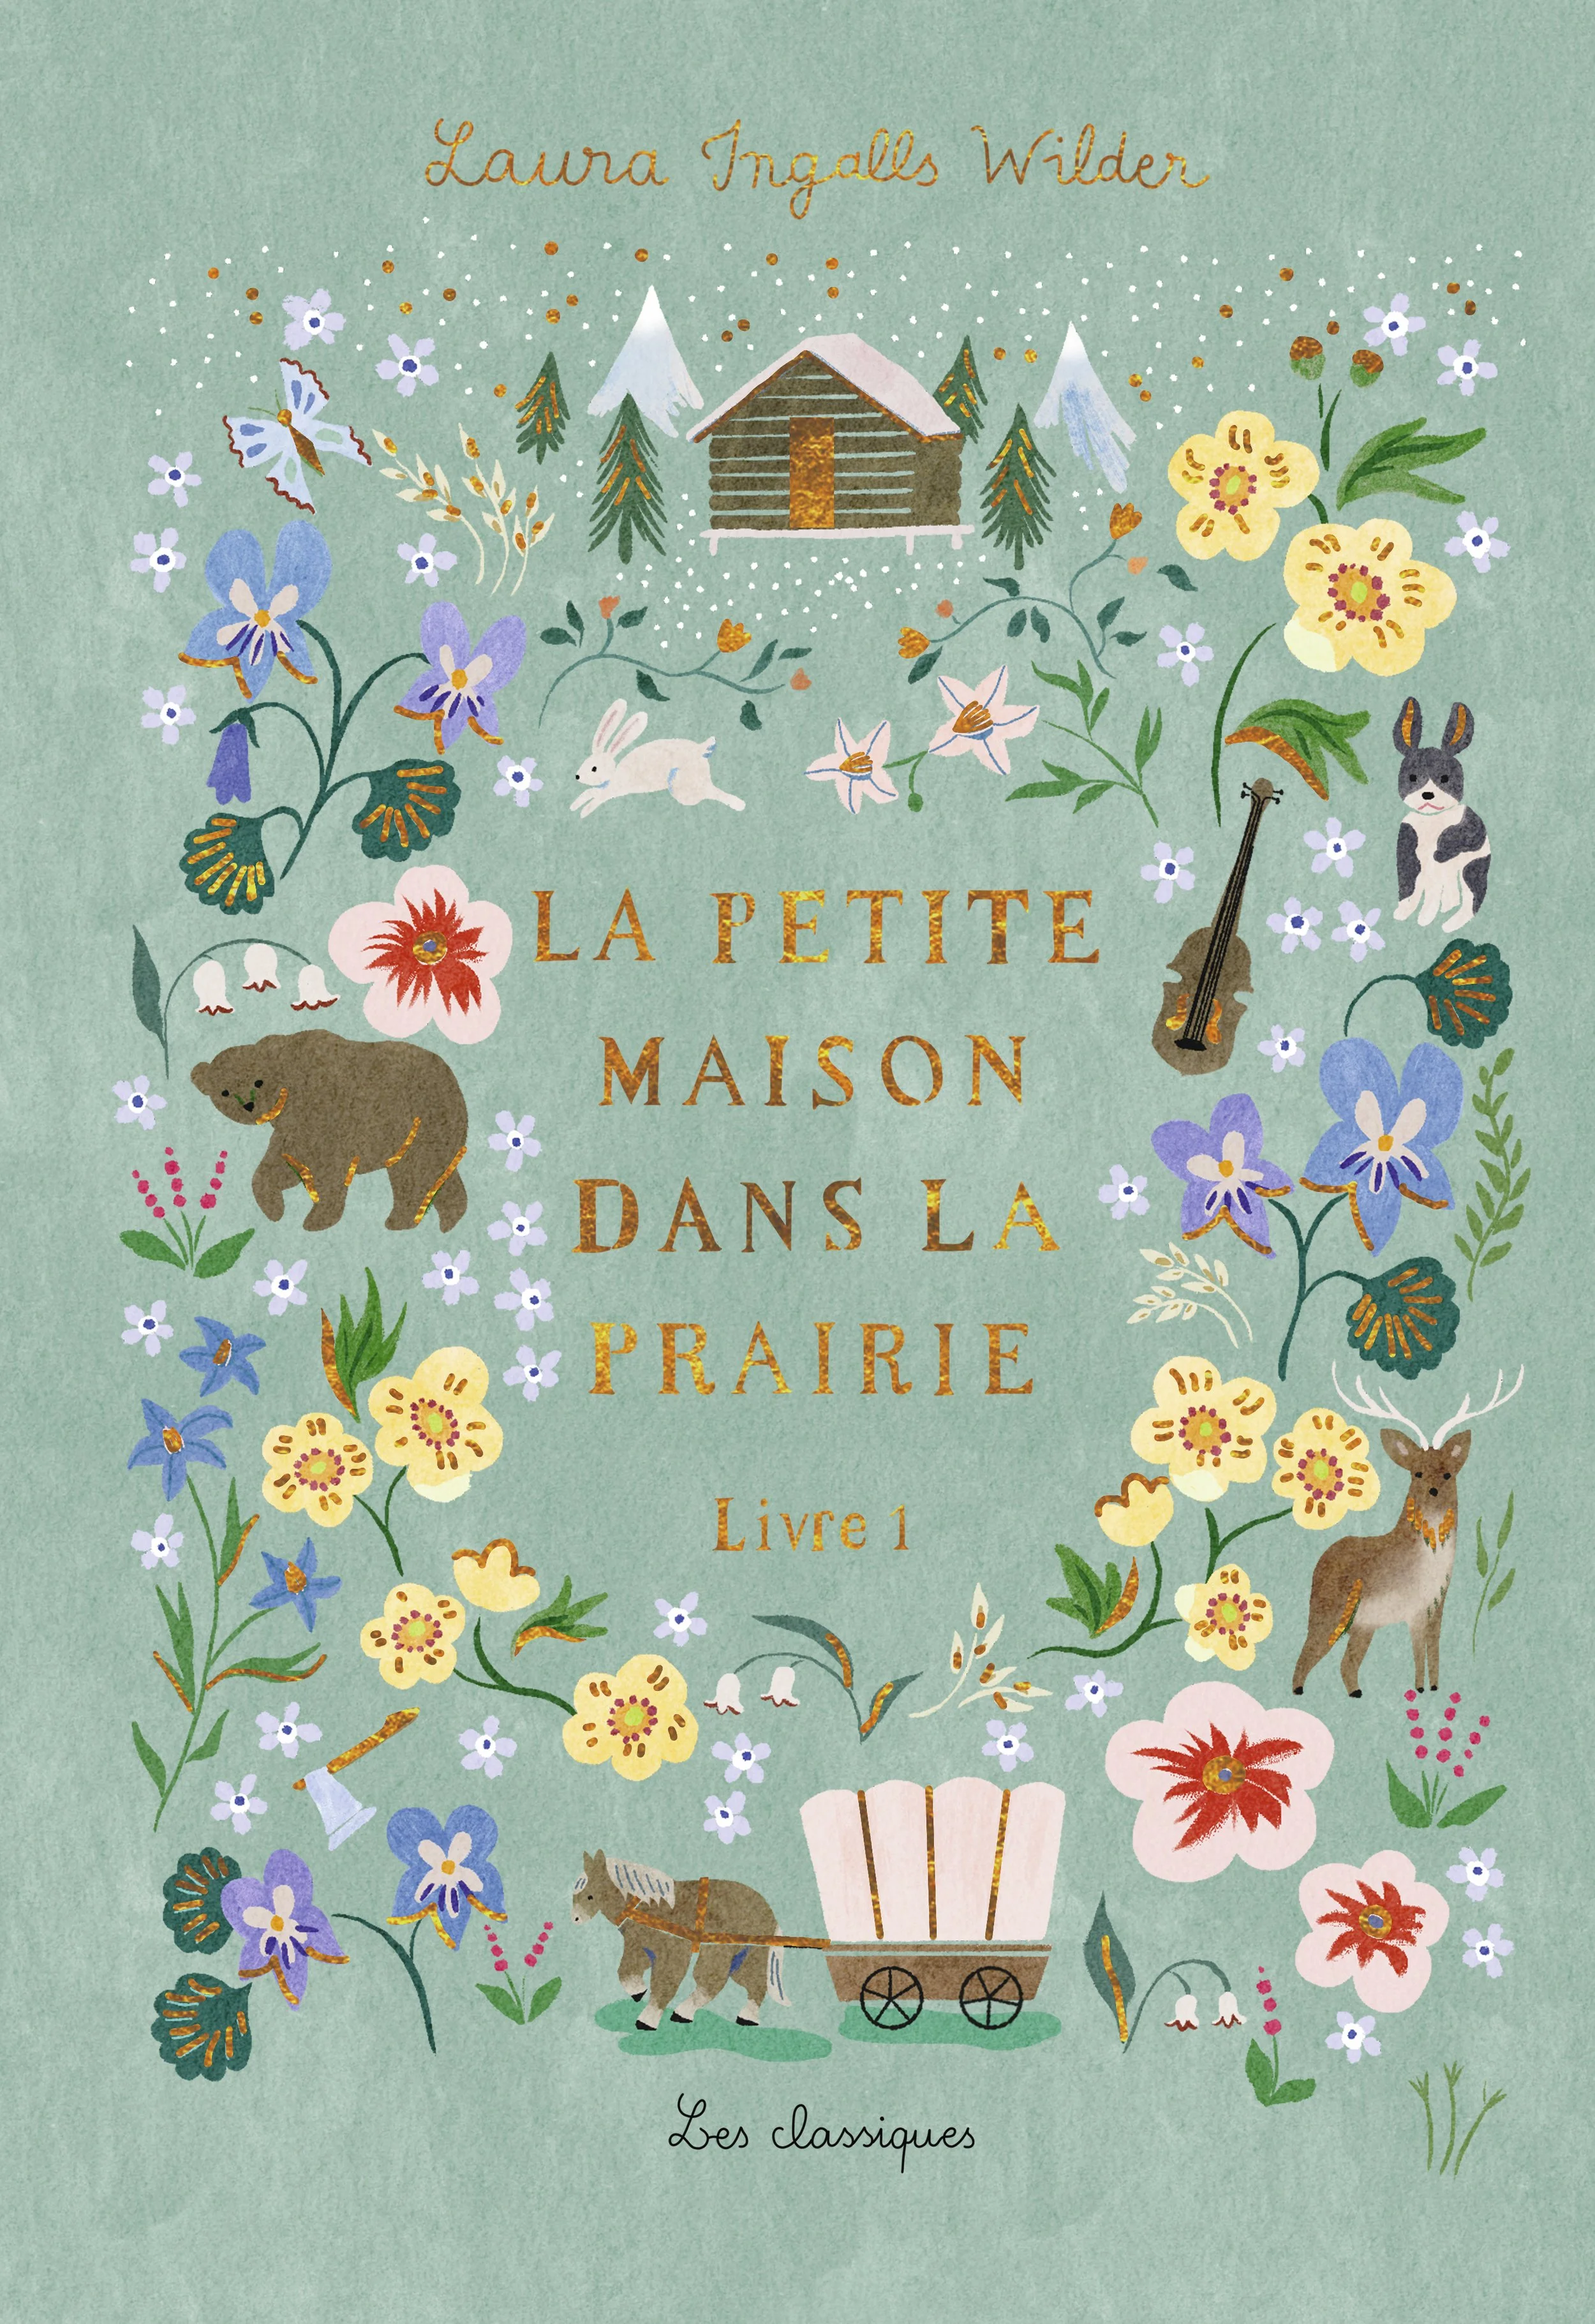

Do you notice differences between the colour sketches and the final covers? It can seem quite subtle, but the final designs have a more painterly texture and everything looks a bit more neat. The background is more textured as well, and golden foil has been applied on details of the elements!
We are already coming to the end of this process. The next and final step was actually receiving the physical copies (always my favourite part of course, it feels truly magical). The books came out back in Octobre 2024, but I only found the time to take photos of my copies this month! Here is what the books look like once printed: (the colours vary a little due to the printing process as well as my poor ability to take good pictures 😂)


As you can see, my illustrations have later been applied to the back and spine of the books, on the first page and also as little decorations on the chapters! These are such nice details and make these books even more special 🌼
I hope you liked reading about this process! All of it took place over the course of three months or so, from first sketches to delivring final files. It was such a dream project - I had been dreaming of illustrating a book cover since I started illustration. I am beyond grateful and proud that it finally happened, and it is a joy being able to share the behind-the-scenes with you. I also want to thank you for your support, on Instagram, my blog, my newsletter - you help give visibility to my work and this allows me to be contracted for such nice projects. I am very grateful for your presence and kindness 🌞
Thank you for reading until here, and please leave a little comment if you have any questions/thoughts you’d like to share about this project!
Sending you love & lemon iced tea 🌸
See you soon!